
How to Clean a Dog’s Ears Safely: A Beginner’s Guide
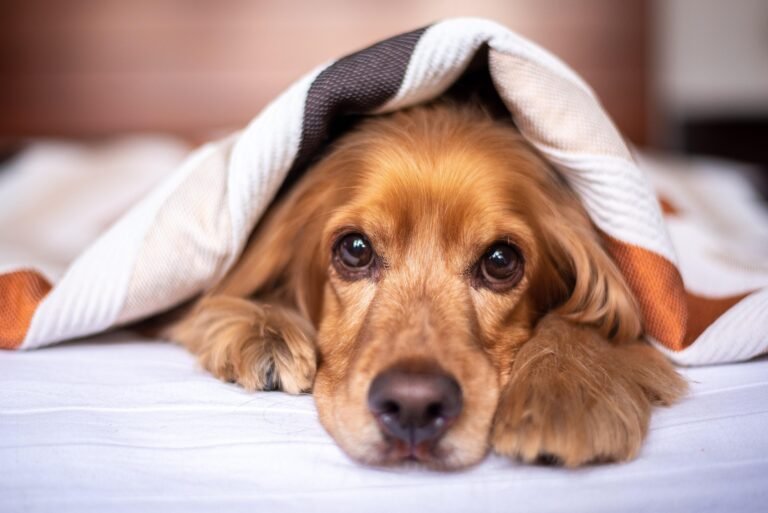
Cleaning your dog’s ears is an essential part of grooming that many owners overlook—until a problem develops. Dogs with floppy ears, like Basset Hounds and Cocker Spaniels, are especially prone to ear infections because their ear structure traps moisture and debris. In fact, one in five dogs suffers from some form of ear disease according to the American Kennel Club.
The good news is that how to clean a dog’s ears safely is a skill any owner can learn. With the right supplies and technique, you can keep your dog’s ears healthy and catch problems early.
Why Ear Cleaning Matters
A dog’s ear canal has a unique L-shape, with both vertical and horizontal sections. This structure makes it difficult for trapped wax, dirt, and moisture to work their way out naturally. When debris accumulates, it creates the perfect environment for bacteria and yeast to overgrow.
Regular ear cleaning removes this buildup before it causes problems. It’s also important before applying any medicated ear drops prescribed by your vet—debris can prevent medication from reaching the infection site. For a deeper look at how ear disease develops, see this guide from Cornell University College of Veterinary Medicine.
When to Clean Your Dog’s Ears
Not every dog needs routine ear cleaning. Some dogs naturally have clean, healthy ears that rarely require attention. Over-cleaning can actually irritate the ear canal and lead to infection.
Here’s when cleaning is appropriate:
-
After swimming or bathing — moisture trapped in the ear canal creates a breeding ground for infection
-
When you notice mild odor or visible debris — a healthy ear should be pink, odorless, and free of discharge
-
If your vet has recommended a cleaning schedule — dogs with allergies or recurring infections often need more frequent care
If your dog’s ears are red, inflamed, painful to touch, or have a strong yeasty smell, consult your veterinarian before cleaning. These signs may indicate an infection that requires treatment.
Supplies You’ll Need
Before you begin, gather everything within easy reach:
-
Vet-approved ear cleaning solution — never use hydrogen peroxide, alcohol, or homemade remedies, as these can irritate sensitive ear tissue
-
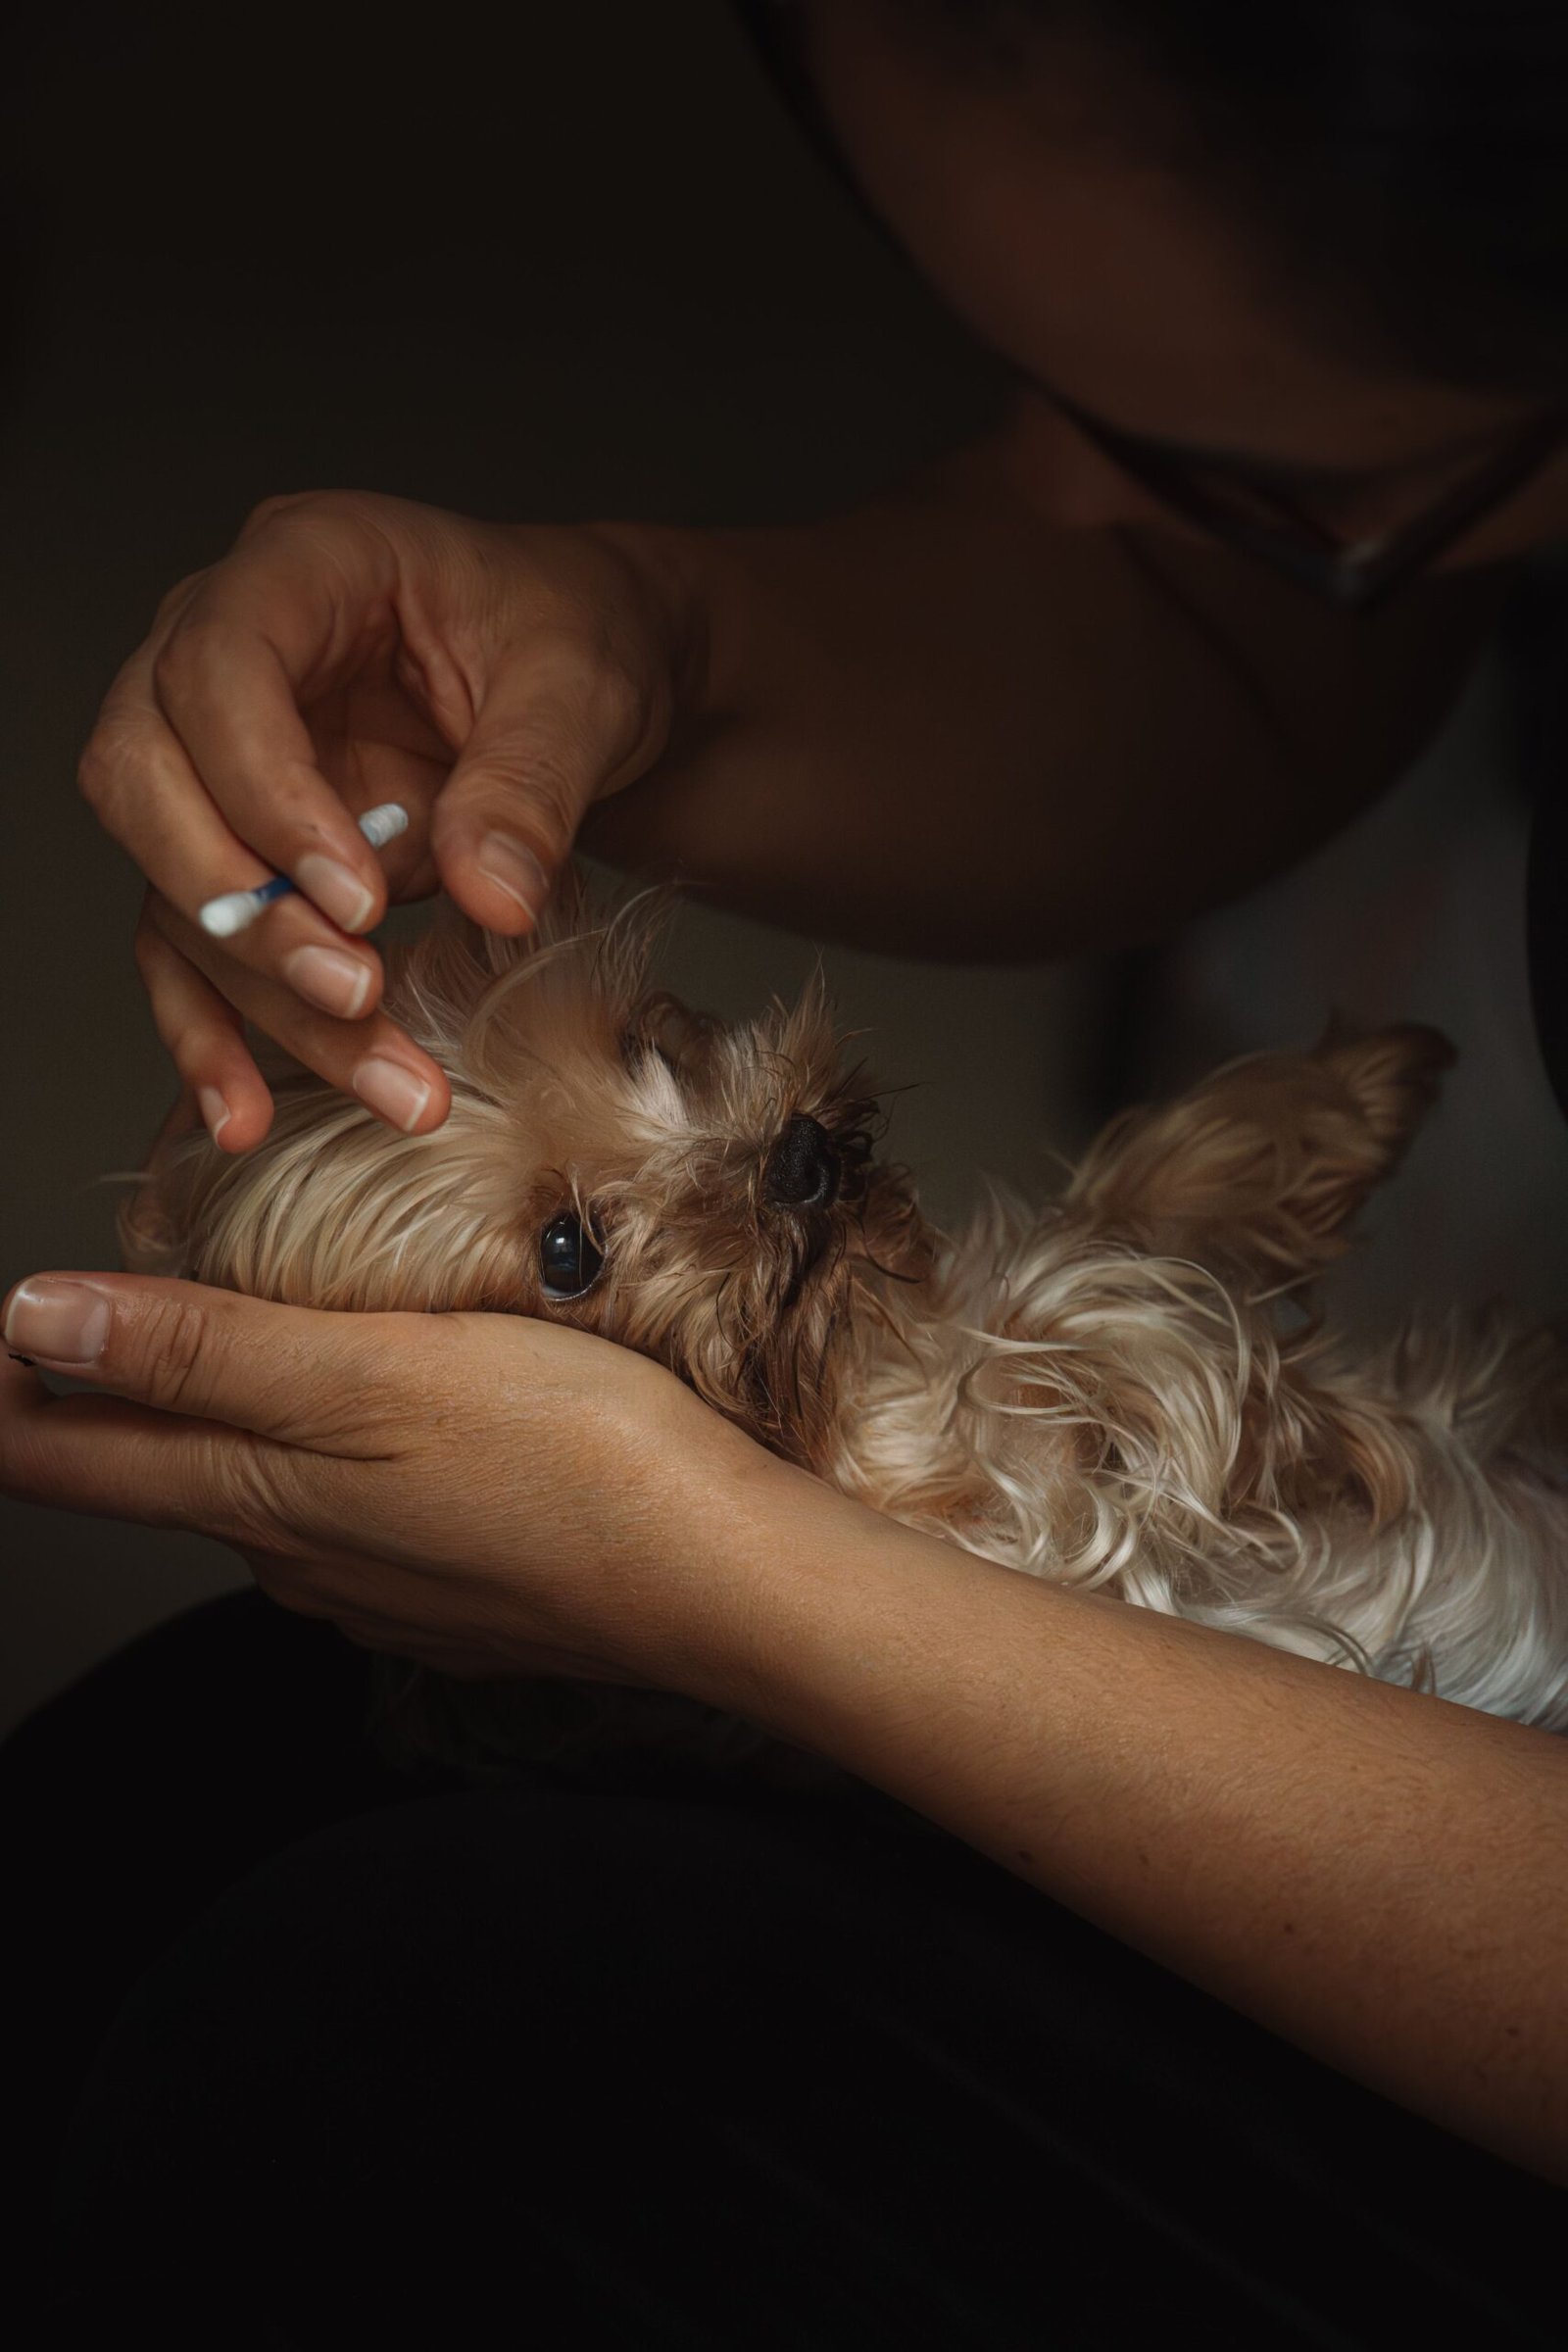
Cotton balls or gauze pads — avoid cotton swabs, which can push debris deeper into the canal or puncture the eardrum
-
A towel — for cleanup after your dog shakes
-
High-value treats — to create a positive association with the process
Step-by-Step: How to Clean a Dog’s Ears
Step 1: Position Your Dog Comfortably
Choose a quiet, well-lit area where you can see clearly. For large dogs, have them sit with their rear in a corner and stand on one side. For medium dogs, sit on the floor with your dog between your legs. Small dogs can sit on your lap.
Step 2: Examine the Ear First
Gently lift the ear flap and look inside. Check for redness, swelling, discharge, or a foul odor. If you notice any of these signs, stop and contact your vet. A healthy ear is pink and relatively clean.
Step 3: Apply the Ear Cleaner
Hold the ear flap straight up to straighten the ear canal. Squeeze enough cleaning solution into the canal to fill it—don’t worry if some spills out. Avoid letting the bottle tip touch your dog’s ear to prevent contamination.
Step 4: Massage the Ear Base
With your fingers, gently massage the base of the ear for about 30 seconds. You should hear a “squishing” sound as the solution breaks up debris in the horizontal canal. This step is crucial for loosening wax and dirt.
Step 5: Let Your Dog Shake
Release the ear and step back. Your dog will naturally shake their head, which helps expel the loosened debris and excess solution. The towel comes in handy here.
Step 6: Wipe Away Debris
Use a cotton ball or gauze to wipe the visible parts of the ear—the inner flap and the upper ear canal. Only go as deep as your finger can comfortably reach (about one knuckle). Never insert anything deep into the canal. Repeat the process with fresh cotton balls until they come away clean.
Common Mistakes to Avoid
-
Using cotton swabs inside the ear canal — this can push debris deeper or damage the eardrum
-
Using hydrogen peroxide or alcohol — these dry out and irritate the sensitive ear lining
-
Cleaning too often — over-cleaning strips away protective wax and disrupts the ear’s natural environment
-
Cleaning when your dog shows signs of infection — this can worsen pain and delay proper treatment
Making Ear Cleaning a Positive Experience
Many dogs dislike ear handling because their ears are sensitive and nerve-rich. If your dog is new to ear cleaning, build positive associations gradually using the same positive reinforcement principles you’d use for any training. Start by simply touching their ears during calm moments and rewarding with treats. Progress to wiping with a dry cotton ball, then a damp one, before introducing ear cleaner.
Keep sessions short and end on a positive note. If your dog shows signs of stress—wide eyes, stiff body, pulling away, or refusing treats—stop and try again later.
Warning Signs That Require a Vet
Stop home cleaning and contact your veterinarian if you notice:
-
Strong, foul odor or colored discharge
-
Redness, swelling, or bleeding
-
Head tilting or loss of balance
-
Severe pain when the ear is touched
-
No improvement after one gentle cleaning
These signs may indicate infection, ear mites, foreign objects, or other conditions requiring professional treatment. If your dog has a history of ear infections, ask your vet how often you should clean at home.
A Final Note
Learning how to clean a dog’s ears safely gives you the confidence to care for your dog’s ear health at home—and the knowledge to recognize when professional help is needed. When in doubt, always consult your veterinarian before cleaning, especially if your dog has a history of ear problems. Pairing ear care with a regular dog grooming routine keeps your dog comfortable and healthy from nose to tail.